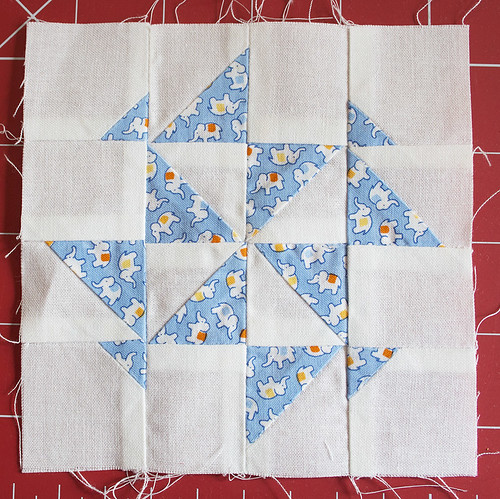
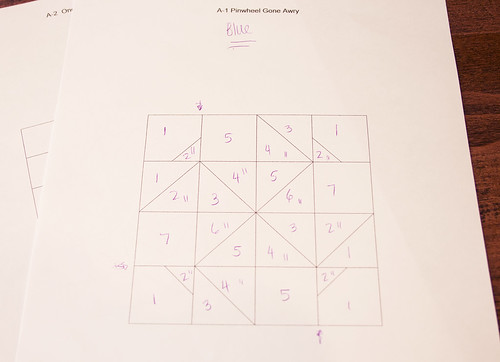
Here she is - Block
A-1 - Pinwheel Gone Awry!
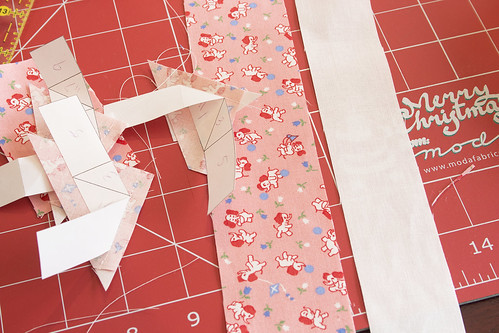
I have the software so the way I make my paper pieced blocks is as follows:
1. I print out the diagram from the software. I don't use the foundation piecing templates because I've found that many times their numbering doesn't work for me.
It's important to make sure you have the block size set to 4.5" x 4.5" and measure it when you print it because some printers will resize things. Be sure to set your printer not to do that.
2. I mark all the sections that will be sewn in the print fabric with two little hashes.
3. Number them following the instructions.
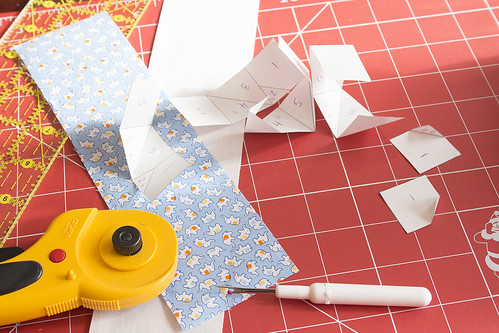
4. I cut out the sections and score them along the seam lines because I use the
freezer paper foundation piecing method to make my blocks.
5. I cut the fabric in strips determined by the size of the sections. I feel that this wastes the least fabric. This is a little bit subjective. For A-1 I used 2 1/4" strips.
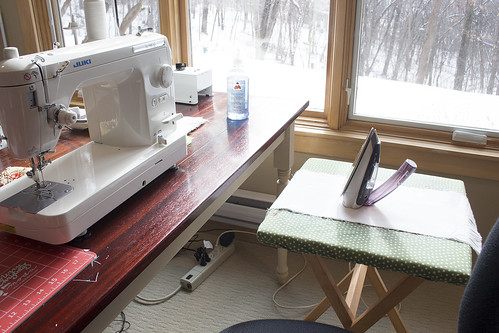
And, for fun, a picture of my sewing space.
If you've made this block, please share!
You can post it to the
Flickr Group, post a picture on Instagram and tag it with
#thatquiltjanealong, or post a picture on the
Facebook page.
I'm hoping to also create a link list soon where you can link to your blog posts. Just figuring out the technicalities...