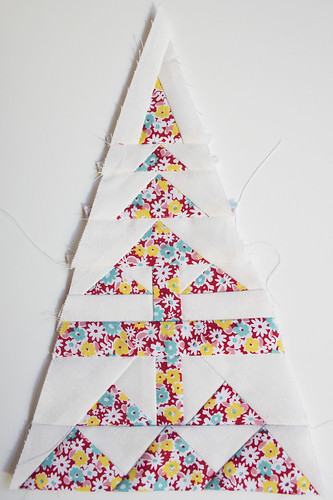
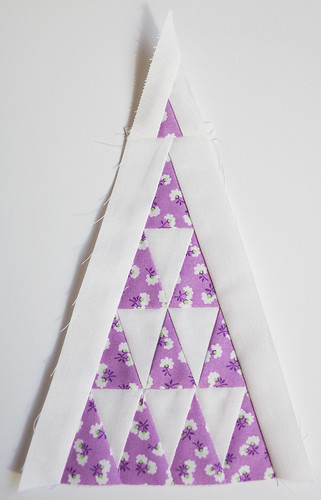
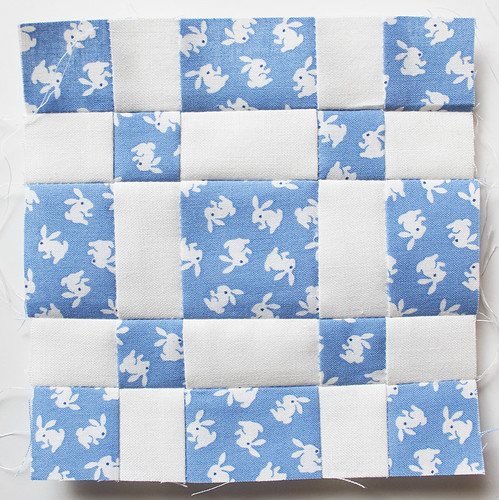
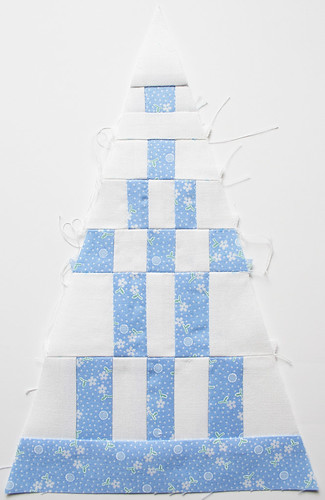
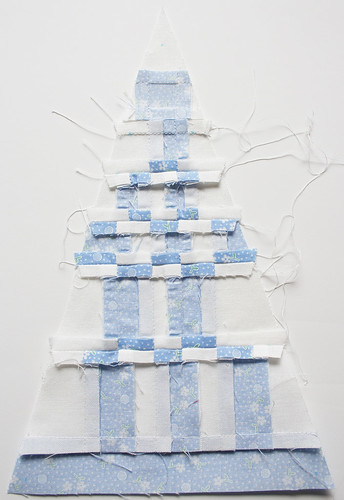
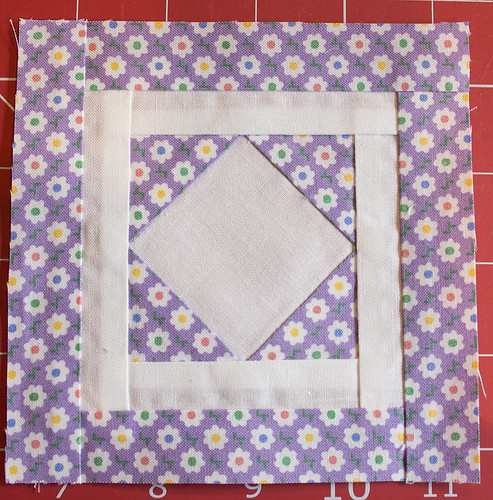
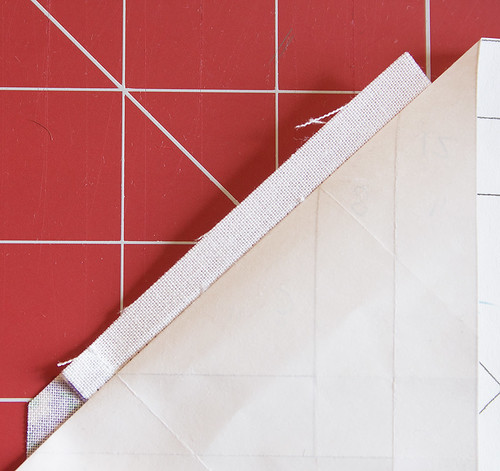
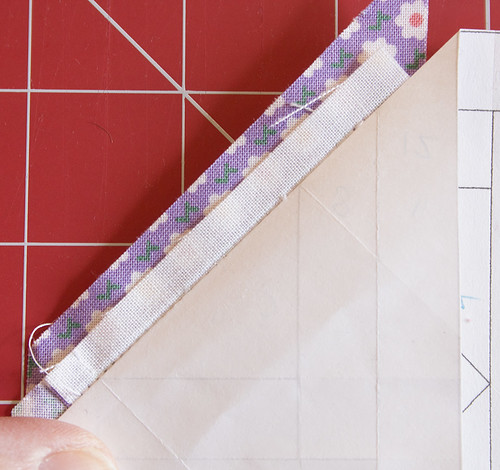
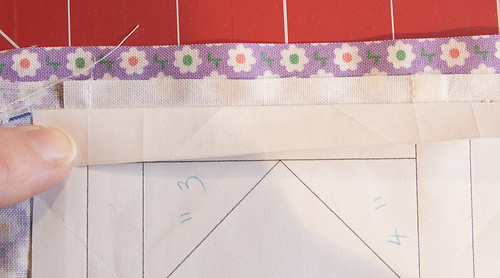
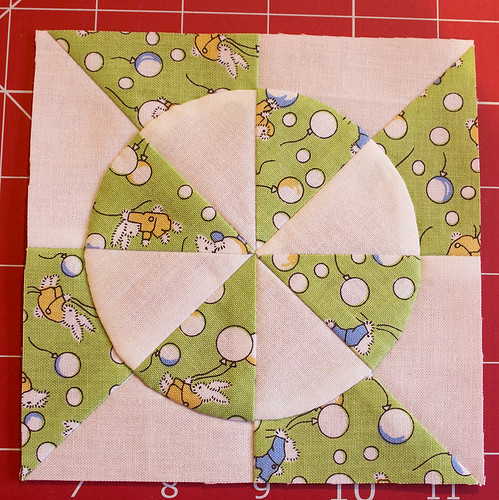
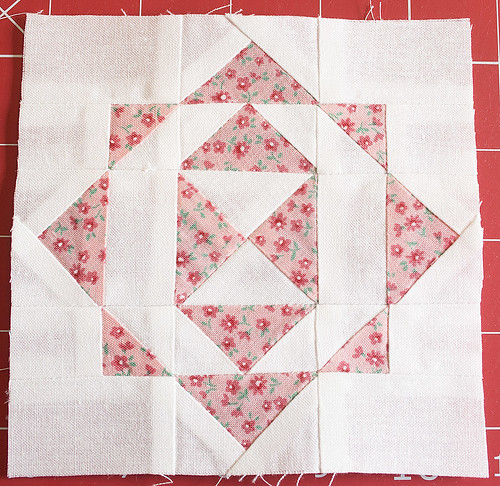
C-7 Megan's Mountain Laurel
Tuesday, June 14, 2016
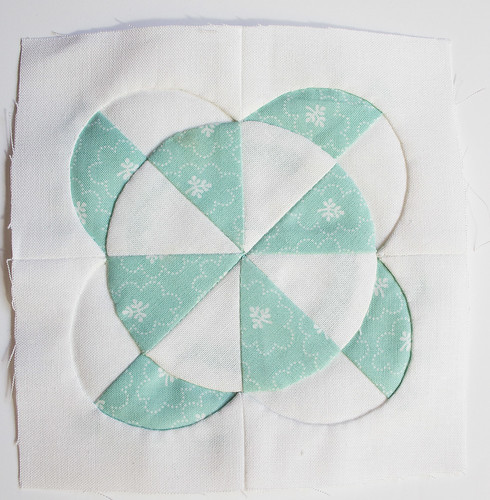
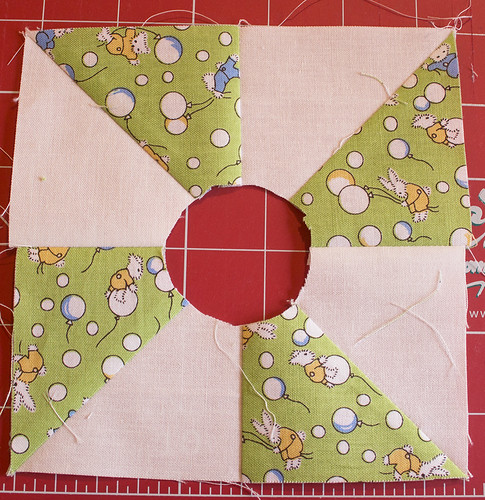
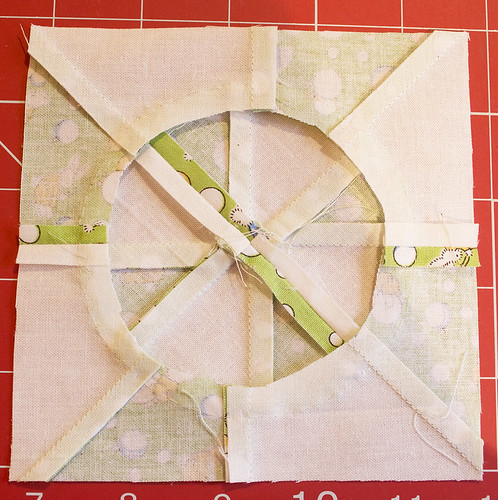
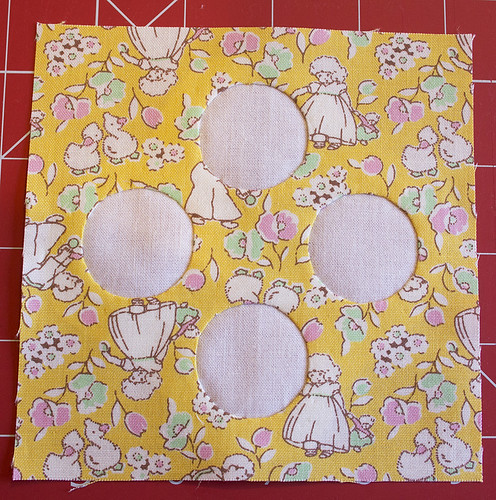
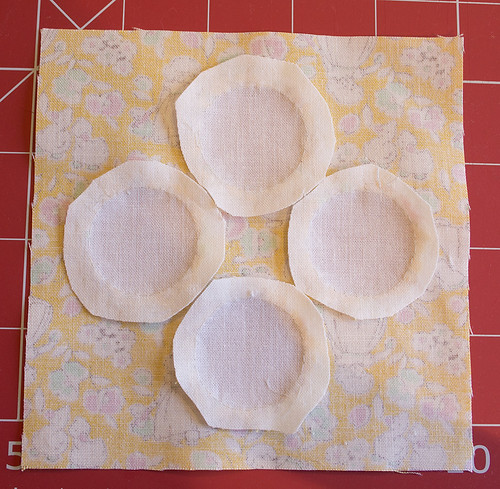
C-7 Megan's Mountain Laurel
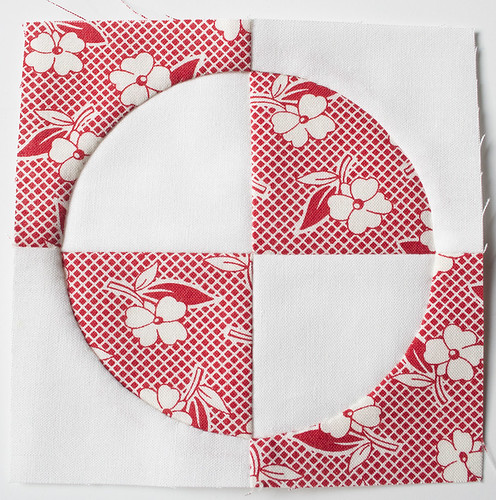
Not perfect, but good enough, I think.
Labels:
#thatquiltjanealong,
30's Jane,
c-7,
dear jane quilt
Monday, June 13, 2016
Friday, June 10, 2016
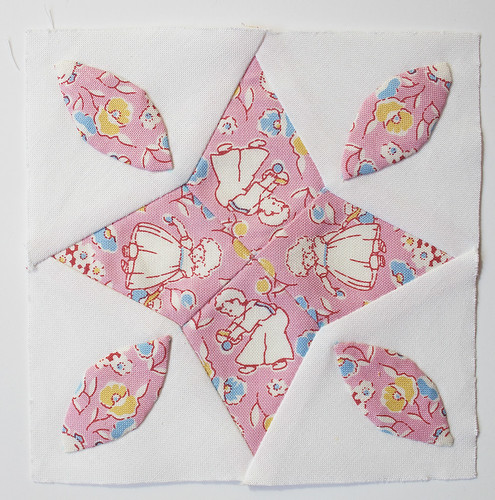
A-8 Florence Nightingale
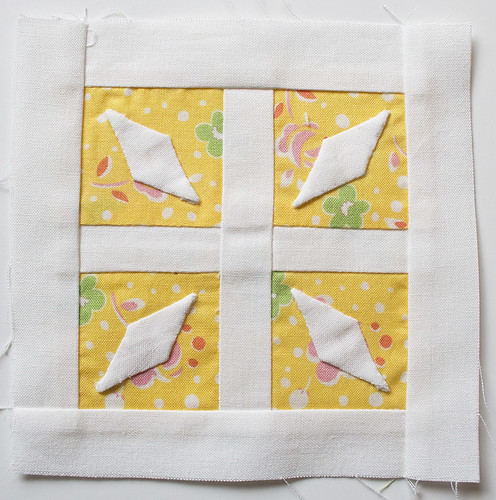
I loved making this one. It would be great as a signature block.
A-8 Florence Nightingale
Labels:
#thatquiltjanealong,
30's Jane,
A-8,
dear jane quilt
Thursday, June 9, 2016
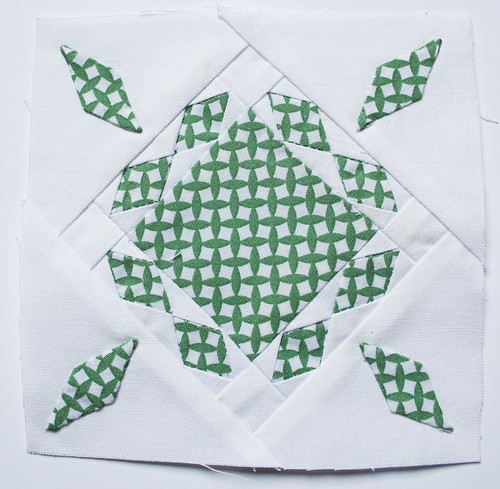
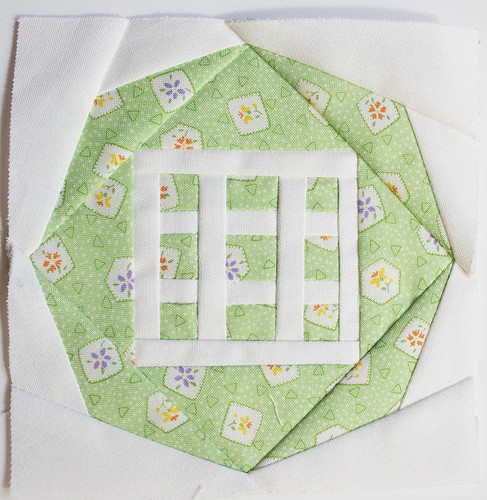
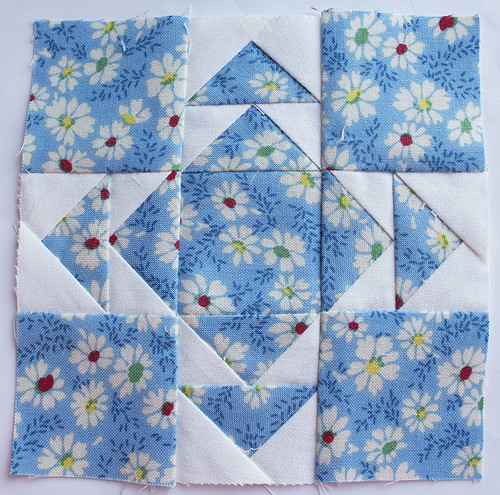
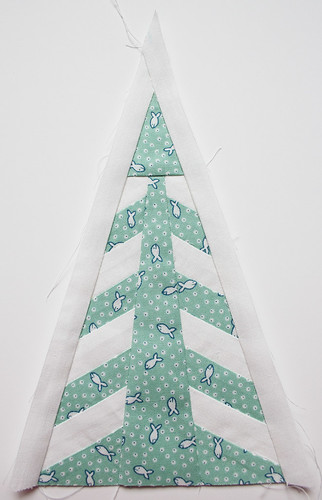
B-6 Wild Goose Chase
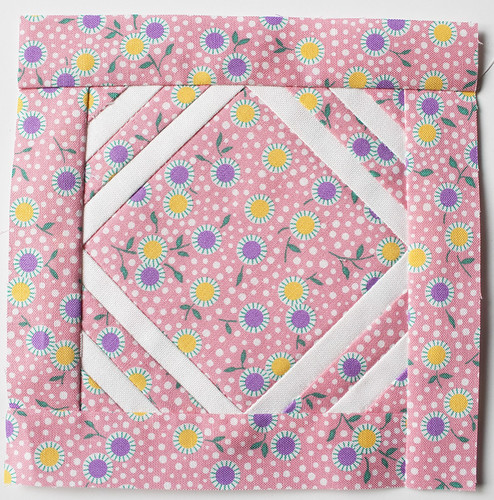
Not sure how anyone could make this one without foundation piecing. Tiny sections!
B-6 Wild Goose Chase
Fabric: Tiny Flowers - Green from the Old New 30's collection by Lecien Fabrics
B-6 Wild Goose Chase
Fabric: Tiny Flowers - Green from the Old New 30's collection by Lecien Fabrics
Wednesday, June 8, 2016
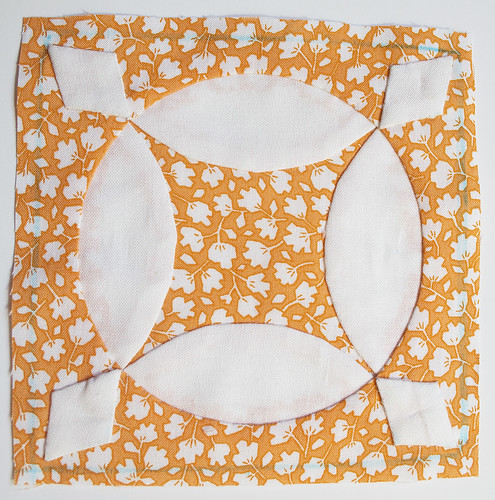
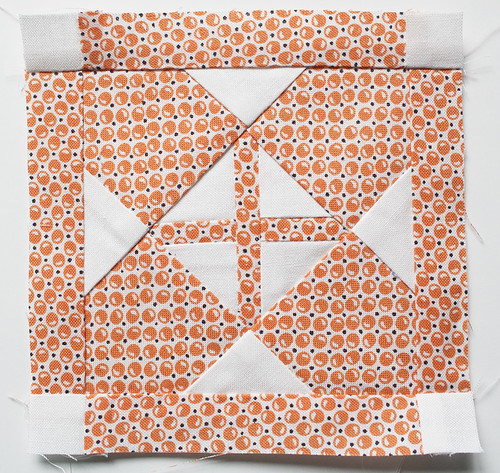
B-7 World Series
B-7 World Series
Fabric: Scattered Leaves - Orange from Just One of Those Days by Darlene Zimmerman for Robert Kaufman
Fabric: Scattered Leaves - Orange from Just One of Those Days by Darlene Zimmerman for Robert Kaufman
Labels:
#thatquiltjanealong,
30's Jane,
B-7,
dear jane quilt
Tuesday, June 7, 2016
Monday, June 6, 2016
Friday, June 3, 2016
Thursday, June 2, 2016
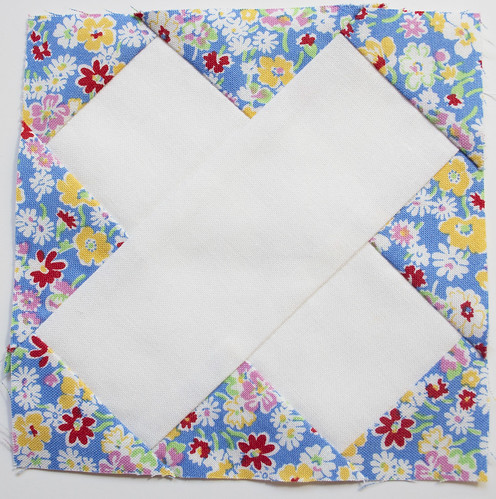
TR-4 Bennington Cross
TR-4 Bennington Cross
Labels:
#thatquiltjanealong,
30's Jane,
dear jane quilt,
TR-4
Wednesday, June 1, 2016
TR-5 Michigan Dunes
Wow! It's been a while!
I'm WAY behind on my blocks. So much for good intentions.
It's been a little cloudy and hard to take photos over here. Note to self: Buy a studio light.
I do have a couple to share though and will do so over the next couple of days.
First up, TR-5.
I'm WAY behind on my blocks. So much for good intentions.
It's been a little cloudy and hard to take photos over here. Note to self: Buy a studio light.
I do have a couple to share though and will do so over the next couple of days.
First up, TR-5.
TR-5 Michigan Dunes
Thursday, March 31, 2016
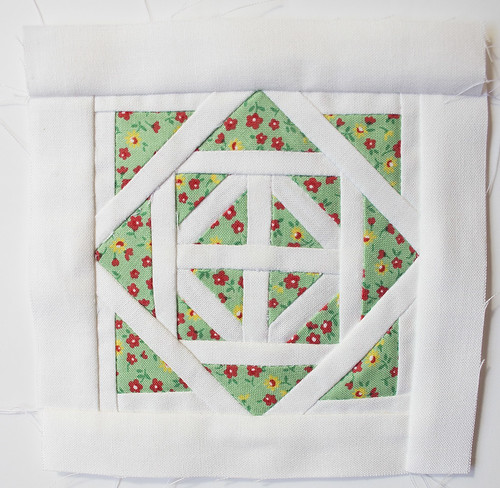
C-3 Rayelle's Fence
I contemplated changing this to a regularly pieced block (but differently from the original instructions), but I still think foundation piecing yields the most accurate results.
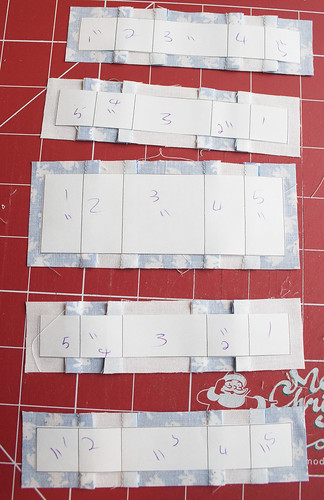
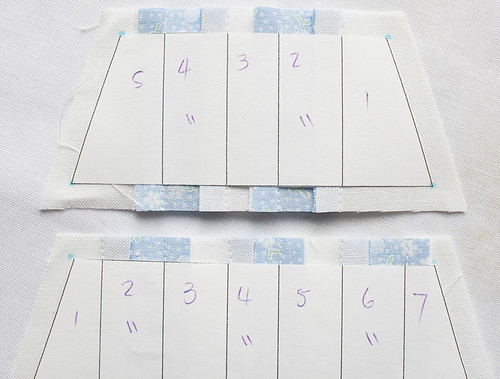
To make assembling the sections easier, I always try to have the seams alternate when numbering:
C-3 Rayelle's Fence
To make assembling the sections easier, I always try to have the seams alternate when numbering:
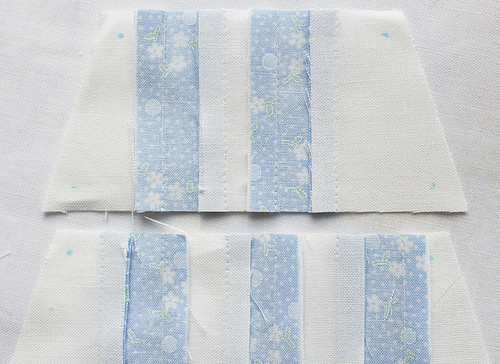
See?
Less bulk, especially if you press them open.C-3 Rayelle's Fence
Wednesday, March 30, 2016
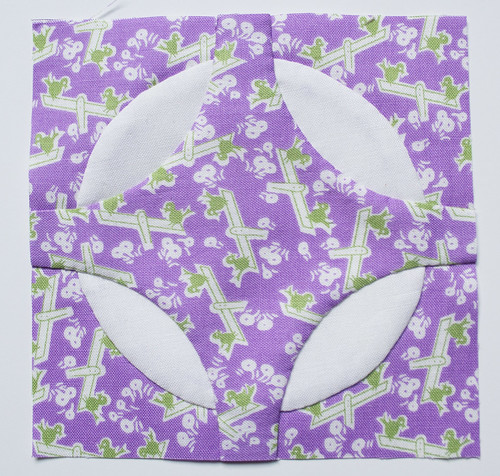
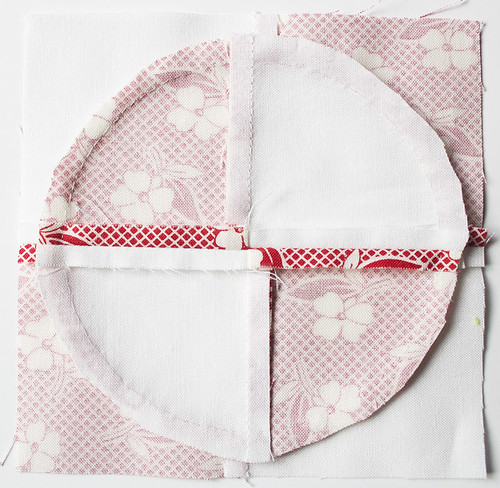
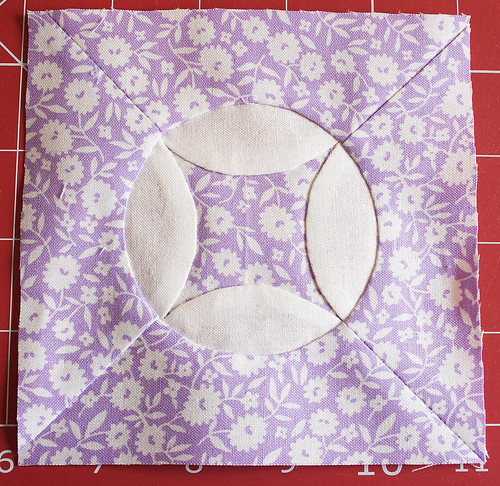
B-5 Hot Cross Buns
My applique skills still need a little help. I did reverse applique in the original instructions and regular applique here. Not sure which is best.
B-5 Hot Cross Buns
B-5 Hot Cross Buns
Monday, March 28, 2016
B-4 Chris's Soccer Field
I love blocks that can be foundation pieced as a whole without have to attach sections to each other!
And the perfect points I get.
And the perfect points I get.
Saturday, March 26, 2016
B-3 Mirror Image
Looking back at the original blog post for this block, I realized that I had actually simplified the construction for the BOM instructions. Unfortunately I did not take photos as I made this block.
I made two four patches and then reverse appliqued one on top of the other. Afterwards, I trimmed away most of the excess fabric from the back of the block.
The back...
B-3 Mirror Image
I made two four patches and then reverse appliqued one on top of the other. Afterwards, I trimmed away most of the excess fabric from the back of the block.
The back...
B-3 Mirror Image
Labels:
#thatquiltjanealong,
30's Jane,
B-3,
dear jane quilt
Thursday, March 17, 2016
A-5 Cathie's Campfire
A-5 Cathie's Campfire
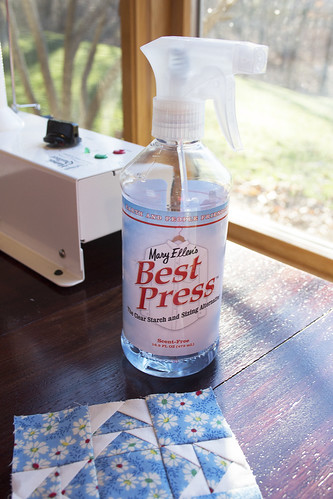
More starching success! Someone asked what starch I use. It's Mary Ellen's Best Press. I have a whole gallon of it!
Wednesday, March 9, 2016
Saturday, March 5, 2016
TR-3 Checkerboard
I experimented with a couple of things making this block.
I read an article this week about the fact that starching actually shrinks fabric. I think especially if you don't pre-wash. Guilty!
It's probably common knowledge to most of you but somehow I never thought about this. I now realize that starching while making my blocks may be a leading reason I've been having trouble with my blocks sometimes being too small. There is also sometimes puckering when I starch. Maybe because different fabrics shrink at different rates.
Anyhow, this time I decided to starch the fabric before cutting. It really made a difference!
I think this may be the straightest, flattest block I've ever made, even though it doesn't look like it in the photo.
(And maybe I should stop using a white background in photos.)
Because I figured I had now "pre-shrunk" the fabric, I also felt comfortable spraying some more starch and pressing the seams open, which also helped it lay flat.
I had another epiphany this morning. To aid in stitching the sections together, I decided to mark the corners before removing the papers. It made lining them up a whole lot easier.
Wow! So much better! My work here is done!
Thursday, March 3, 2016
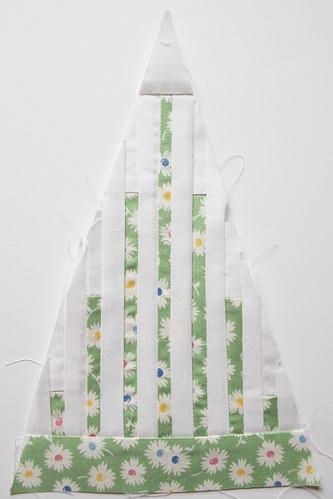
TR-2 Australian Pines
This is the second last block for Month 1 of the BOM. So far, so good on keeping up. I hope you are too.
TR-2 Australian Pines
Tuesday, March 1, 2016
TR-1 Spanish Moss
Wow! I had forgotten how hard this one is. I may have to redo it because I noticed a little section with no seam allowance.
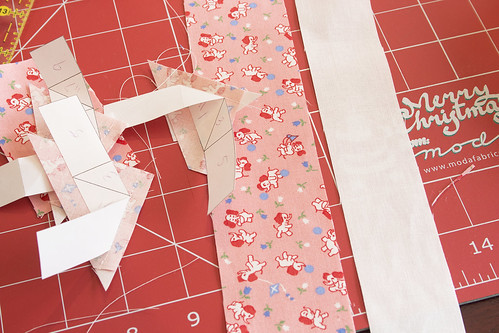
I cut 1" strips of fabric for foundation piecing.
I cut 1" strips of fabric for foundation piecing.
TR-1 Spanish Moss
Monday, February 29, 2016
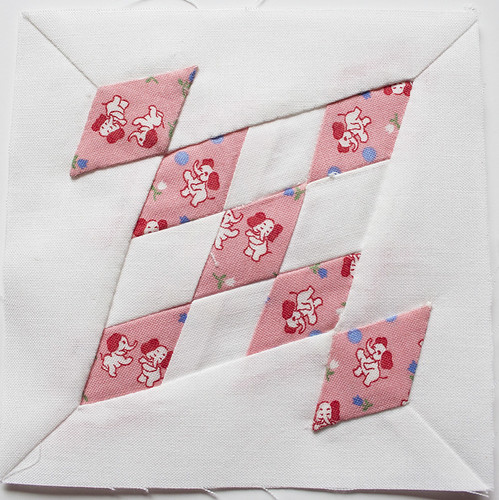
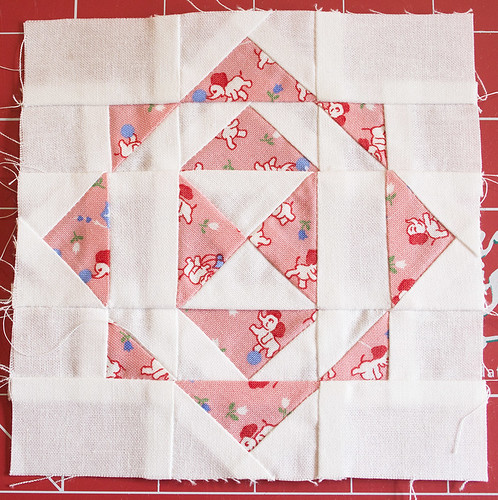
C-2 Streak of Lightning
This block was fairly easy but could have been easier had I actually followed my own instructions...
I was able to fussy cut the little elephants to avoid them all being headless. So much better!
(The original instructions are over here.)
Off to go make the first triangle!
I was able to fussy cut the little elephants to avoid them all being headless. So much better!
(The original instructions are over here.)
Off to go make the first triangle!
Thursday, February 25, 2016
C-1 Trooper Green's Badge
At first I thought this one was going to be REALLY quick. Well, as quick as foundation piecing can be, anyway.
Then I realized I had directional fabric to deal with and, trust me, if you don't get it to line up at least a little, your block will look really wonky.
Thanks to freezer paper foundation piecing however, it was fairly simple to do.
Firstly, it's important to trim your previous seam allowance to exactly 1/4". Straight.
That makes it easy to line up your directional fabric along the edge.
If you line it up exactly the same way along each edge, they should all look the same at the end. Of course the little triangles are cut on the bias, so the fabric stretched a little but hey, good enough!
I did the same thing along the outside sections.
(Still awaiting a couple more shared blocks on Instagram (#thatquiltjanealong), Facebook, or Flickr.)
Tuesday, February 23, 2016
B-2 Sweet Tater Pie
I love this one.
A note: Before I started the applique, I cut out the center of the bottom pinwheel to reduce the bulk underneath.
And when I was done I cut away as much of the bulk on the back as I was comfortable doing.
B-2 Sweet Tater Pie
A note: Before I started the applique, I cut out the center of the bottom pinwheel to reduce the bulk underneath.
And when I was done I cut away as much of the bulk on the back as I was comfortable doing.
B-2 Sweet Tater Pie
Friday, February 19, 2016
B-1 Batchelor Buttons
My applique skills are definitely a little rusty but B-1 is still one of my favorite little blocks.
It's reverse appliqued.
After I finished the block, I trimmed away as much of the excess fabric from the back as I felt comfortable doing.
(And yes, I know how to spell "bachelor" but this is how it's named in the book. Maybe spell checkers weren't around back then. Or maybe the misspelling was on purpose. Either way, it's kind of cute.)
Thursday, February 18, 2016
A-2 again, and A-3
I redid A-2 using a small floral. Much better, I think.
Today I made A-3 and then trimmed it completely wonky. So, another remake is in my future. Note to self: Don't trim quilt blocks when you have a splitting headache and are talking on the phone. Multi-tasking does NOT work.
I'm anxiously awaiting some shared blocks on Instagram (#thatquiltjanealong), Facebook, or Flickr.
Tuesday, February 16, 2016
A-2 - Kind of...
I made block A-2 yesterday. I may redo it because I'm not totally happy with it.
I used this elephant fabric and I don't like it for two reasons:
1. The block sections are quite small, resulting in too many elephants missing body parts.
2. I made block A-1 using elephant fabric too, so this is getting to be a little too much like a jungle.
If I remake it I'll use a floral print.
I cut 1 1/2" white strips and 2" pink strips for this block.
If you've made this block, please share!
You can post it to the Flickr Group, post a picture on Instagram and tag it with #thatquiltjanealong, or post a picture on the Facebook page.
I'll periodically share blocks made by Jane-along participants over here.
Saturday, February 13, 2016
First Block!
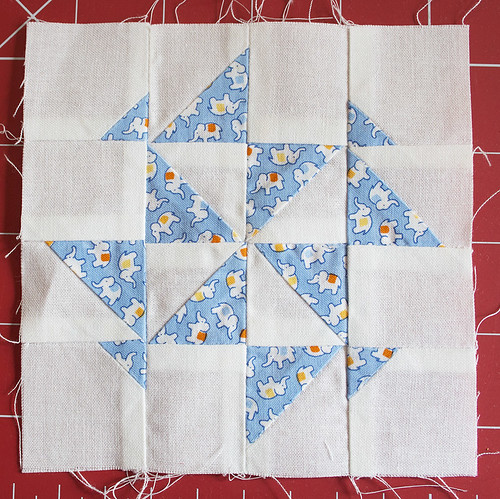
Here she is - Block A-1 - Pinwheel Gone Awry!
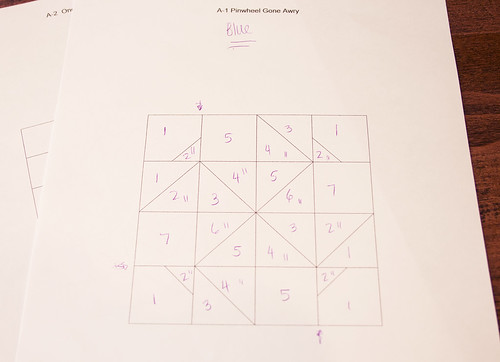
I have the software so the way I make my paper pieced blocks is as follows:
1. I print out the diagram from the software. I don't use the foundation piecing templates because I've found that many times their numbering doesn't work for me.
It's important to make sure you have the block size set to 4.5" x 4.5" and measure it when you print it because some printers will resize things. Be sure to set your printer not to do that.
2. I mark all the sections that will be sewn in the print fabric with two little hashes.
3. Number them following the instructions.
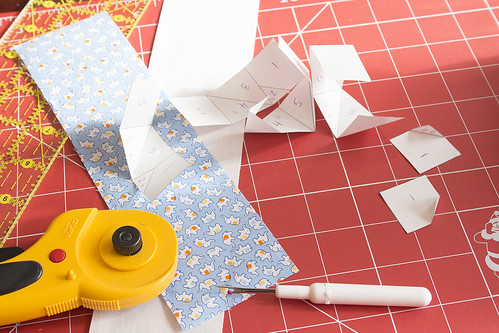
4. I cut out the sections and score them along the seam lines because I use the freezer paper foundation piecing method to make my blocks.
5. I cut the fabric in strips determined by the size of the sections. I feel that this wastes the least fabric. This is a little bit subjective. For A-1 I used 2 1/4" strips.
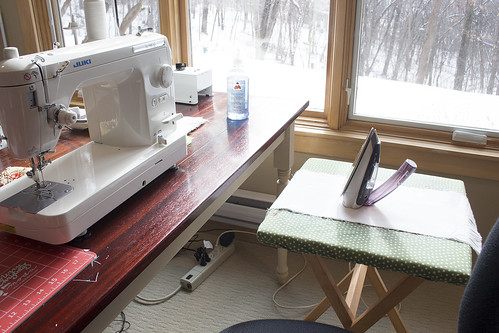
And, for fun, a picture of my sewing space.
If you've made this block, please share!
You can post it to the Flickr Group, post a picture on Instagram and tag it with #thatquiltjanealong, or post a picture on the Facebook page.
I'm hoping to also create a link list soon where you can link to your blog posts. Just figuring out the technicalities...
Tuesday, February 9, 2016
Ready?
Subscribe to:
Comments (Atom)

