I promised an easy one for today. This will be short and sweet.
Hop on over to C-9 and follow those directions.
Just kidding. I'll repeat them over here.
Trace or print the pattern from the book onto freezer paper and cut it out accurately on the seam line.
Cut a 6" square from each fabric you will be using. This will allow you extra fabric for trimming the block down later.
Iron the freezer paper to the center of the fabric that will be your "background", the darker fabric in this case, using a hot, dry iron. (The buttons will be white.)

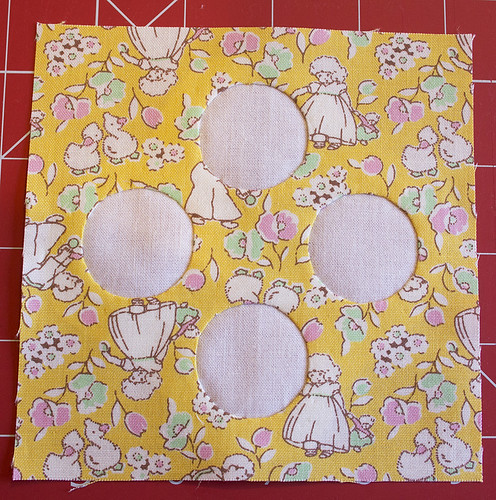
This time I decided to completely cut out the inside of each button right at the start and just baste the heck out of the whole thing.
So, cut out the inside of each button leaving about an 1/8" seam allowance.
Clip vertically into the seam allowance about every 1/8", almost, but not quite, to the edge of the freezer paper. This will allow the fabric to form curves without pulling.
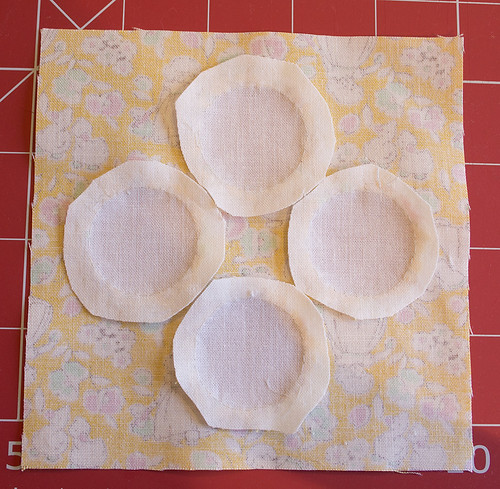
Layer the fabrics with the "button fabric" - the white in this case - at the bottom and the background on top.
Baste the layers together, being careful not to baste too close to the edges of the buttons. I recommend basting really well. This will help keep the freezer paper in position.

Using tiny invisible stitches, applique around the edge of the button, pushing the seam allowance under with the tip of the needle as you go around the circle. Use the edge of the freezer paper as your guide. Add extra clips or trim the seam allowance as needed.

Repeat this for all four buttons. Remember to applique buttons in pairs opposite each other to help keep the fabric smooth.

Trim the block to 5" and there you go!