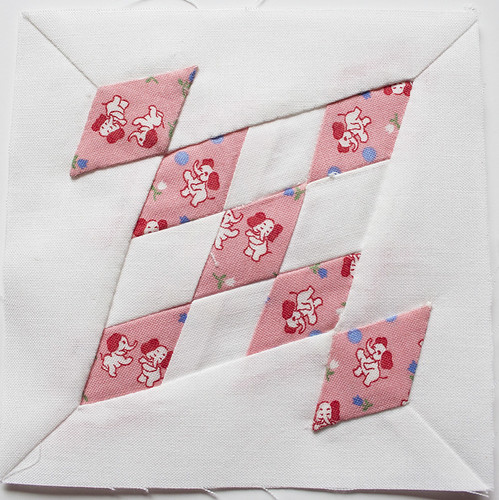
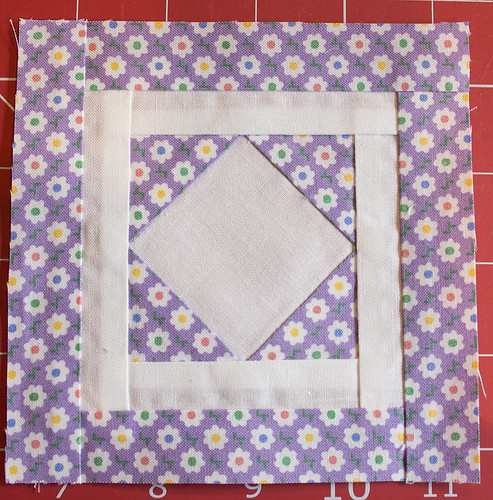
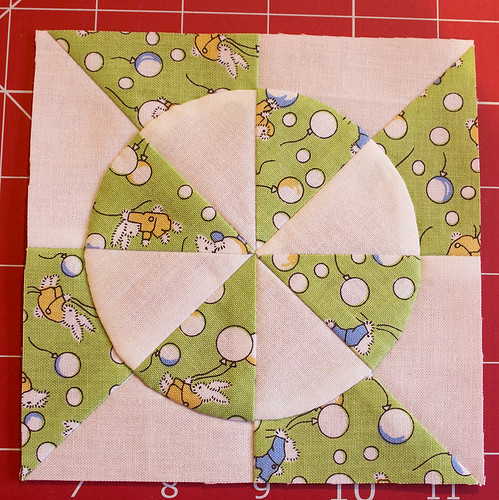
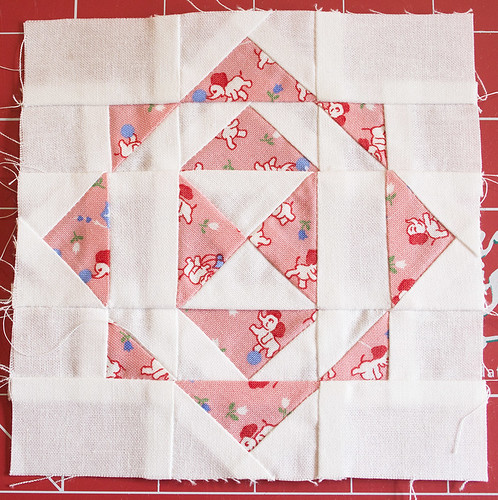
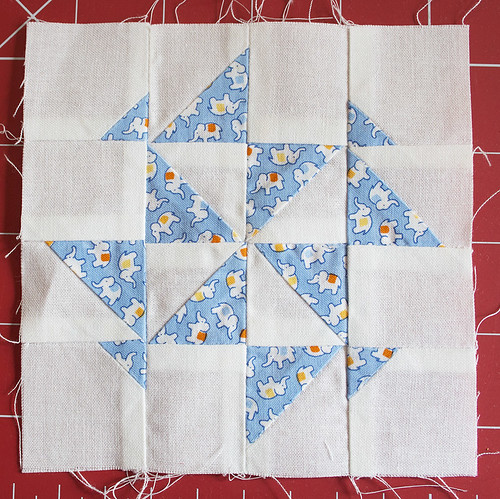
This block was fairly easy but could have been easier had I actually followed my own instructions...
I was able to fussy cut the little elephants to avoid them all being headless. So much better!
(The original instructions are over here.)
Off to go make the first triangle!
Monday, February 29, 2016
Thursday, February 25, 2016
C-1 Trooper Green's Badge
At first I thought this one was going to be REALLY quick. Well, as quick as foundation piecing can be, anyway.
Then I realized I had directional fabric to deal with and, trust me, if you don't get it to line up at least a little, your block will look really wonky.
Thanks to freezer paper foundation piecing however, it was fairly simple to do.
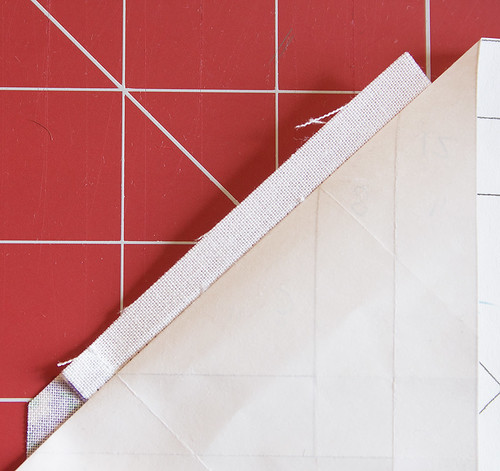
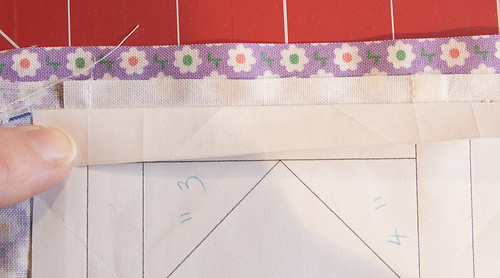
Firstly, it's important to trim your previous seam allowance to exactly 1/4". Straight.
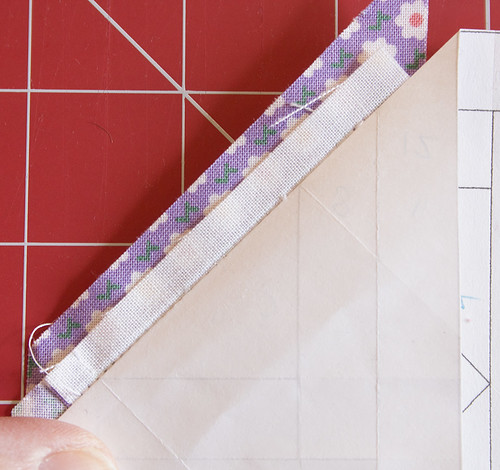
That makes it easy to line up your directional fabric along the edge.
If you line it up exactly the same way along each edge, they should all look the same at the end. Of course the little triangles are cut on the bias, so the fabric stretched a little but hey, good enough!
I did the same thing along the outside sections.
(Still awaiting a couple more shared blocks on Instagram (#thatquiltjanealong), Facebook, or Flickr.)
Tuesday, February 23, 2016
B-2 Sweet Tater Pie
I love this one.
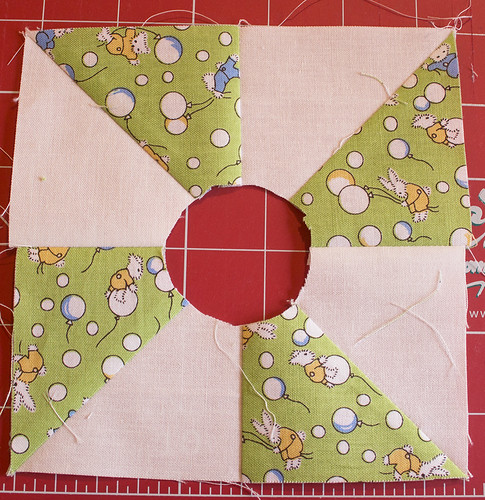
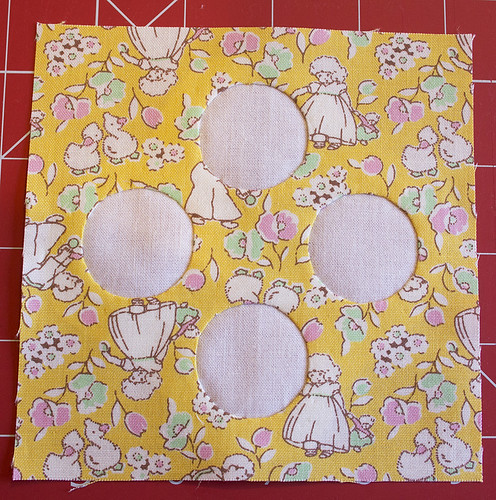
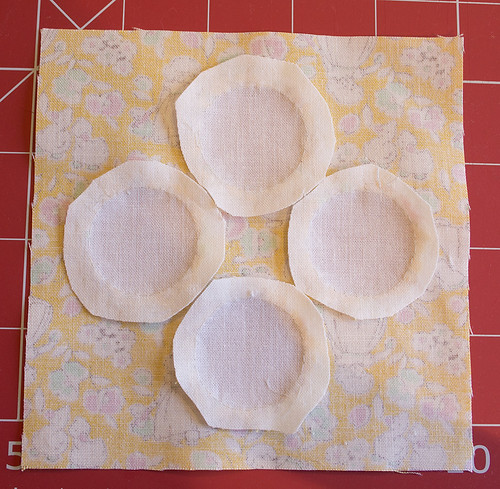
A note: Before I started the applique, I cut out the center of the bottom pinwheel to reduce the bulk underneath.
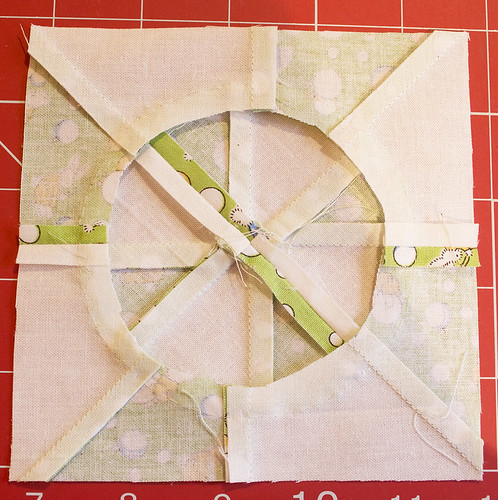
And when I was done I cut away as much of the bulk on the back as I was comfortable doing.
B-2 Sweet Tater Pie
A note: Before I started the applique, I cut out the center of the bottom pinwheel to reduce the bulk underneath.
And when I was done I cut away as much of the bulk on the back as I was comfortable doing.
B-2 Sweet Tater Pie
Friday, February 19, 2016
B-1 Batchelor Buttons
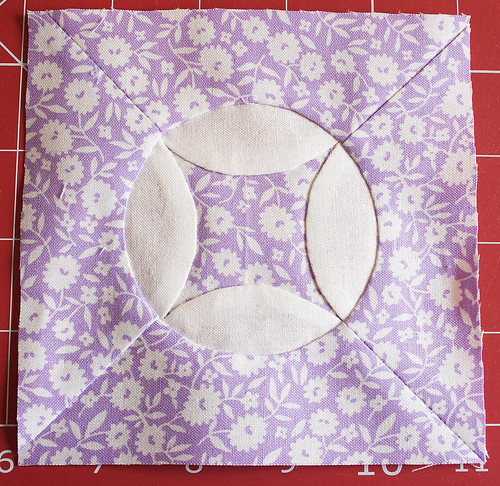
My applique skills are definitely a little rusty but B-1 is still one of my favorite little blocks.
It's reverse appliqued.
After I finished the block, I trimmed away as much of the excess fabric from the back as I felt comfortable doing.
(And yes, I know how to spell "bachelor" but this is how it's named in the book. Maybe spell checkers weren't around back then. Or maybe the misspelling was on purpose. Either way, it's kind of cute.)
Thursday, February 18, 2016
A-2 again, and A-3
I redid A-2 using a small floral. Much better, I think.
Today I made A-3 and then trimmed it completely wonky. So, another remake is in my future. Note to self: Don't trim quilt blocks when you have a splitting headache and are talking on the phone. Multi-tasking does NOT work.
I'm anxiously awaiting some shared blocks on Instagram (#thatquiltjanealong), Facebook, or Flickr.
Tuesday, February 16, 2016
A-2 - Kind of...
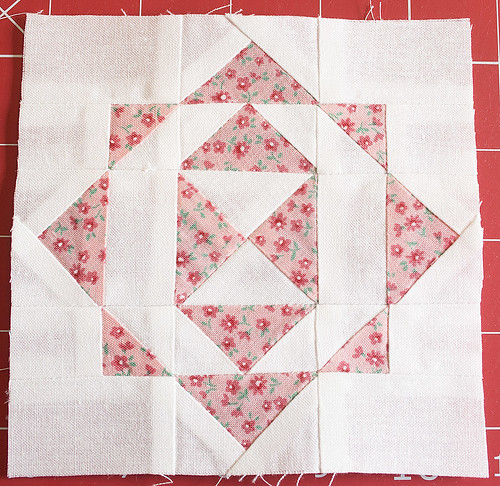
I made block A-2 yesterday. I may redo it because I'm not totally happy with it.
I used this elephant fabric and I don't like it for two reasons:
1. The block sections are quite small, resulting in too many elephants missing body parts.
2. I made block A-1 using elephant fabric too, so this is getting to be a little too much like a jungle.
If I remake it I'll use a floral print.
I cut 1 1/2" white strips and 2" pink strips for this block.
If you've made this block, please share!
You can post it to the Flickr Group, post a picture on Instagram and tag it with #thatquiltjanealong, or post a picture on the Facebook page.
I'll periodically share blocks made by Jane-along participants over here.
Saturday, February 13, 2016
First Block!
Here she is - Block A-1 - Pinwheel Gone Awry!
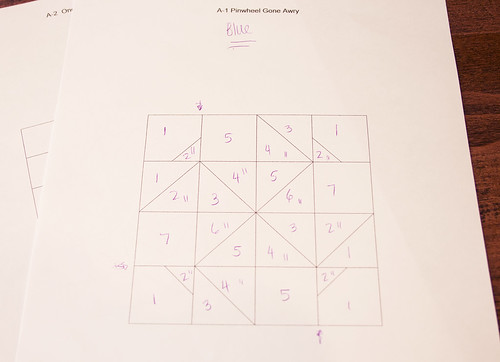
I have the software so the way I make my paper pieced blocks is as follows:
1. I print out the diagram from the software. I don't use the foundation piecing templates because I've found that many times their numbering doesn't work for me.
It's important to make sure you have the block size set to 4.5" x 4.5" and measure it when you print it because some printers will resize things. Be sure to set your printer not to do that.
2. I mark all the sections that will be sewn in the print fabric with two little hashes.
3. Number them following the instructions.
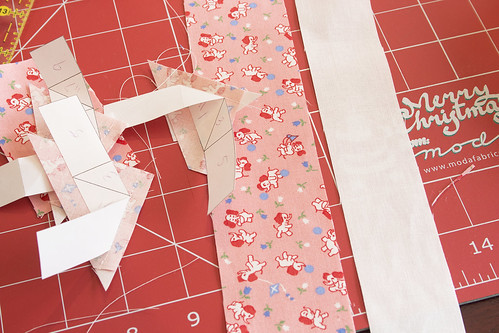
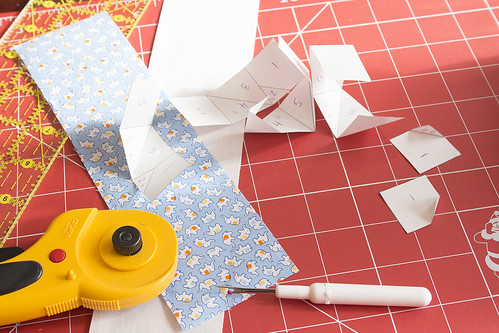
4. I cut out the sections and score them along the seam lines because I use the freezer paper foundation piecing method to make my blocks.
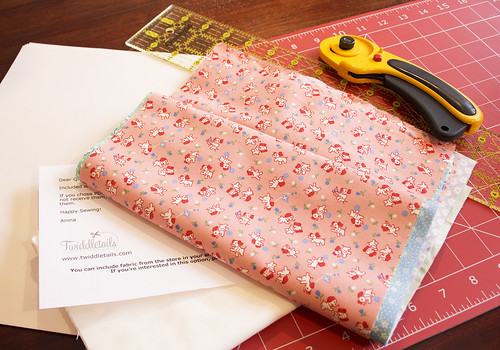
5. I cut the fabric in strips determined by the size of the sections. I feel that this wastes the least fabric. This is a little bit subjective. For A-1 I used 2 1/4" strips.
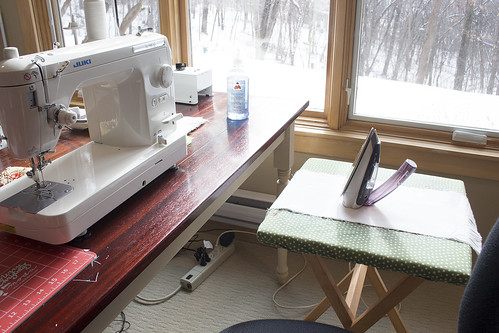
And, for fun, a picture of my sewing space.
If you've made this block, please share!
You can post it to the Flickr Group, post a picture on Instagram and tag it with #thatquiltjanealong, or post a picture on the Facebook page.
I'm hoping to also create a link list soon where you can link to your blog posts. Just figuring out the technicalities...
Tuesday, February 9, 2016
Ready?
Subscribe to:
Comments (Atom)

