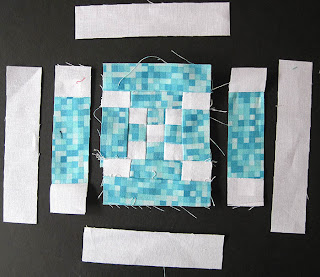
Back in the saddle, I hope. For some or other reason, this is my third blue block in a row.
Print or trace the block diagram onto foundation paper and number the sections as in the photo.
It may help to look at the photo of the pieced block in the next step because all the extra lines on the diagram can be a little confusing.
Foundation piece the block, following the numbers. Trim the seam allowances to 1/4".
Trace or print the block diagram onto the dull side of freezer paper. Cut out the bottom section as below. Iron the freezer paper into position on the right side of the pieced block, lining up the seam markings on the paper with the seams on the block.
Cut out the triangle, leaving a seam allowance for turning under. Clip the sharp top corner.
Out of main block fabric, cut a 5" x 5" square and lay it right side up on the table. Place the block right side up on top of it, making sure that the triangle you cut out completely covers the fabric.
Baste securely through all layers to keep them in place.
Turning under the seam allowance, reverse applique the triangle.
Remove the freezer paper and press.
Cut the next block section out of the freezer paper, adding the 1/4" seam allowance on the sides.
Iron the freezer paper into position.
Cut out the two kites, leaving a seam allowance for turning under.
Out of main block fabric, cut a rectangle 4" x 6" and lay it right side up on the table.
Place the block right side up on top of it, once again making sure that the main block fabric completely fills the kite cut outs.
Baste through all layers.
Turning under the seam allowance, reverse applique the two kites.
Remove the freezer paper and basting.
Press the block.
Not perfect, but DONE!


